
Temperature conversion is a common necessity in many areas of life, from cooking and travel to science and engineering. One frequently sought conversion is 50 degrees C to F, which serves as a useful benchmark for understanding extreme heat. This article explores the nuances of converting Celsius to Fahrenheit, the significance of such temperatures, and their practical applications in daily life and beyond.
Understanding Temperature Scales
To understand the conversion of 50 degrees C to F, it’s essential to grasp the basics of the Celsius and Fahrenheit scales.
- Celsius (°C): Developed by Anders Celsius in 1742, this scale defines 0°C as the freezing point and 100°C as the boiling point of water under standard atmospheric pressure. It’s widely used in most countries for scientific and everyday purposes.
- Fahrenheit (°F): Introduced by Daniel Gabriel Fahrenheit in 1724, this scale sets the freezing point of water at 32°F and the boiling point at 212°F, making the interval between these points 180 degrees. It remains prevalent in the United States and a few other regions.
The Formula for Conversion
The formula to convert Celsius to Fahrenheit is:
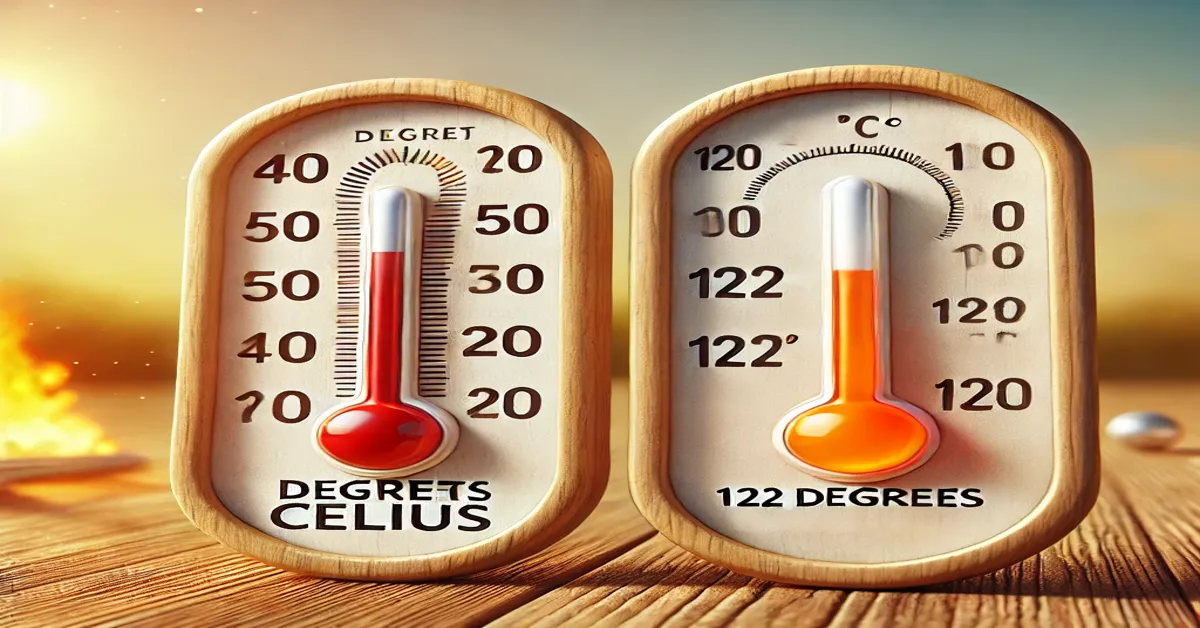
°F = (°C × 9/5) + 32
Let’s apply this formula to determine 50 degrees C to F:
- Multiply 50 by 9/5: 50 × 1.8 = 90
- Add 32 to the result: 90 + 32 = 122
Therefore, 50 degrees C to F equals 122°F.
READ MORE:23 Celsius to Fahrenheit: Formula, Applications, and FAQs
The Significance of 50°C (122°F)
A temperature of 50°C (122°F) is exceptionally high and has implications for various aspects of life:
- Human Health: At 50°C, heat-related illnesses such as heatstroke become a severe risk. Prolonged exposure can lead to dehydration, organ failure, and even death without proper precautions.
- Environment: Such extreme temperatures can lead to droughts, wildfires, and damage to ecosystems. It highlights the impact of global warming and climate change.
- Infrastructure: Heat at this level can cause roads to buckle, train tracks to warp, and electronic systems to fail, underscoring the importance of designing heat-resistant infrastructure.
Practical Applications of Temperature Conversion
The ability to convert 50 degrees C to F is crucial in various scenarios:
- Travel: Travelers often encounter different temperature scales in weather forecasts, making conversion essential for planning activities and packing appropriately.
- Cooking: Recipes might list oven temperatures in Celsius or Fahrenheit, requiring accurate conversion for successful outcomes.
- Science and Engineering: International collaborations often involve sharing temperature data in different units, necessitating precise conversions to avoid errors.
READ MORE:22 Degrees C to F – Temperature Conversion Guide
Celsius and Fahrenheit in Everyday Contexts
| Description | Celsius (°C) | Fahrenheit (°F) |
|---|---|---|
| Water Freezing Point | 0 | 32 |
| Water Boiling Point | 100 | 212 |
| Average Human Body Temperature | 37 | 98.6 |
| Room Temperature | 20-22 | 68-72 |
The Historical Evolution of Temperature Scales
- Celsius Scale: Initially, Anders Celsius defined 0°C as the boiling point and 100°C as the freezing point of water. This was later reversed by Carl Linnaeus to the current standard.
- Fahrenheit Scale: Daniel Fahrenheit based his scale on three fixed points: the freezing point of a saltwater mixture (0°F), the freezing point of water (32°F), and the human body temperature (initially 96°F, later adjusted to 98.6°F).
READ MORE:Convert 27C to F : Accurate Temperature Conversion Explained
Global Usage of Celsius and Fahrenheit
While the Celsius scale is the global standard, Fahrenheit is still widely used in the United States. This difference necessitates conversions like 50 degrees C to F for seamless communication and understanding.
- Celsius: Preferred for scientific and international purposes.
- Fahrenheit: Common in everyday use in the United States.
Quick Approximation Techniques
For an approximate conversion:
- Celsius to Fahrenheit: Double the Celsius value and add 30. For example, 50°C approximately equals 130°F (actual value: 122°F).
- Fahrenheit to Celsius: Subtract 30 from the Fahrenheit value and halve it. For instance, 122°F approximately equals 46°C (actual value: 50°C).
READ MORE:Convert 48 Celsius to Fahrenheit: Formula and Applications
Technological Tools for Temperature Conversion
Digital tools make it easy to convert temperatures like 50 degrees C to F:
- Online Calculators: Websites offer instant and precise conversions.
- Mobile Apps: Many smartphone apps provide temperature conversion features.
- Smart Assistants: Devices like Alexa and Google Assistant can perform conversions upon request.
Conclusion
Understanding how to convert 50 degrees C to F is an invaluable skill that transcends disciplines and applications. Whether you’re traveling, cooking, or working on scientific research, this knowledge ensures accuracy and effective communication. At 122°F, such temperatures remind us of the extreme conditions our world faces and the importance of preparing for and mitigating their impacts.
FAQs About 50 Degrees C to F
- What is the formula to convert Celsius to Fahrenheit? The formula is °F = (°C × 9/5) + 32.
- How do I convert 50 degrees Celsius to Fahrenheit? Using the formula, 50°C equals 122°F.
- Why is it important to know temperature conversions? Temperature conversions are crucial for travel, cooking, science, and understanding weather reports.
- What does 50°C feel like in Fahrenheit? At 122°F, it feels extremely hot and poses risks to health and infrastructure.
- Are there tools to help with temperature conversions? Yes, you can use online calculators, mobile apps, or smart assistants for instant conversions.
- What are common reference points for Celsius and Fahrenheit? Examples include the freezing point (0°C = 32°F) and boiling point (100°C = 212°F) of water.


