Connect with us

Education

40 Celsius to Fahrenheit: Formula, Applications & Facts

Published

on

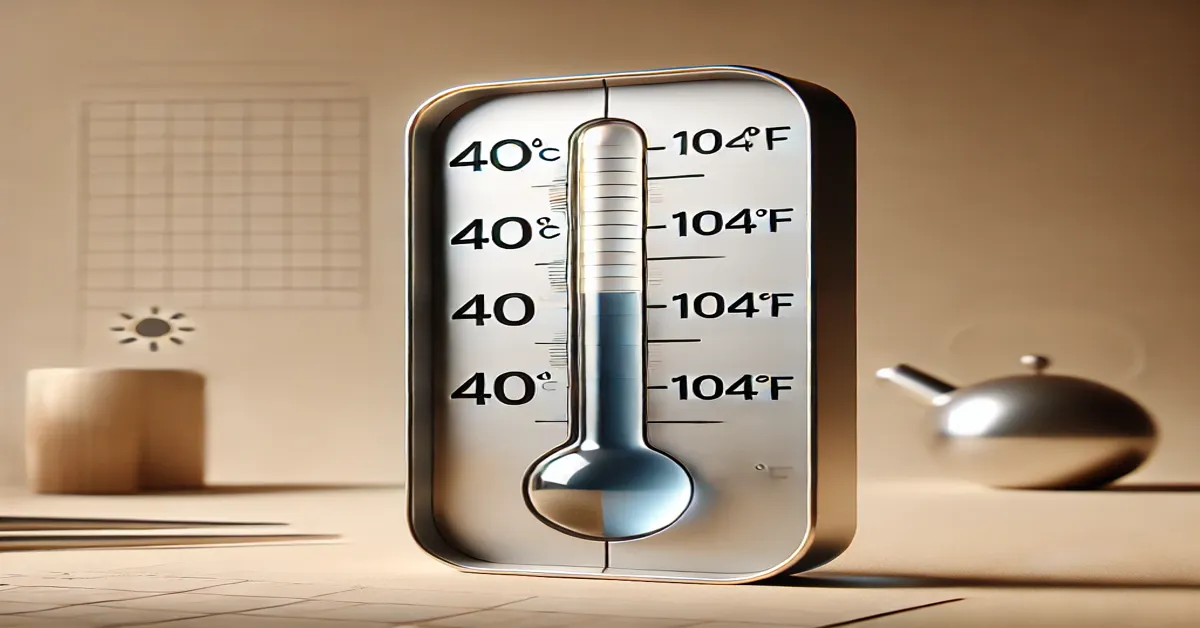
40 Celsius to Fahrenheit

Converting temperatures between Celsius and Fahrenheit is a fundamental skill useful in everyday life, scientific research, cooking, and global communication. For example, if you’re planning a trip, cooking a dish that requires precise heat settings, or interpreting weather data, knowing how to convert 40 Celsius to Fahrenheit ensures you make informed decisions. This article delves into the significance of temperature conversions, the mathematics behind them, and the practical implications of understanding these temperature scales.

The Basics of Celsius and Fahrenheit

The Celsius scale, also known as the centigrade scale, is a temperature measurement system used globally, especially in scientific contexts. In this scale:

  • 0°C represents the freezing point of water.
  • 100°C marks its boiling point under standard atmospheric conditions.

The Fahrenheit scale, in contrast, is predominantly used in the United States and a few other countries. Its defining points are:

  • 32°F as the freezing point of water.
  • 212°F as its boiling point.

The difference between the two scales lies in the intervals they use to define the freezing and boiling points of water, which is why converting 40 Celsius to Fahrenheit requires a specific formula.

The Formula for Conversion

To convert a temperature from 40 Celsius to Fahrenheit, the formula is:

Each degree Celsius equals 1.8 degrees Fahrenheit. Adding 32 adjusts for the difference in the freezing points of water on the two scales. Let’s apply this formula to convert 40 Celsius to Fahrenheit:

  1. Multiply 40 by 9/5 (or 1.8): 40 × 1.8 = 72
  2. Add 32: 72 + 32 = 104

Thus, 40 Celsius equals 104 Fahrenheit (40 Celsius to Fahrenheit)

Why Is 40 Celsius Significant?

A temperature of 40°C (104°F) is significant for several reasons:

1. Human Health

High temperatures, such as 40°C, can lead to heat-related illnesses, including:

  • Heat Exhaustion: Symptoms include heavy sweating, rapid pulse, and dizziness.
  • Heat Stroke: A medical emergency marked by confusion, nausea, and potential organ failure.

Understanding that 40 Celsius equals 104 Fahrenheit is crucial when assessing safety measures during heatwaves.

2. Environmental Impact

In many regions, 40°C signals extreme weather conditions. Prolonged exposure to such heat can:

  • Stress ecosystems.
  • Increase the risk of wildfires.
  • Exacerbate drought conditions.

3. Infrastructure Challenges

At 40 Celsius (104 Fahrenheit), infrastructure systems, such as roads and railways, may face disruptions. Energy demand surges due to increased use of air conditioning, potentially leading to blackouts.

Practical Applications of the Conversion

1. Weather Interpretation

Travelers often encounter temperature scales unfamiliar to their home country. Knowing that 40 Celsius equals 104 Fahrenheit helps interpret weather forecasts effectively, ensuring preparedness for high temperatures.

2. Cooking and Baking

Recipes from different countries list oven temperatures in either Celsius or Fahrenheit. Accurately converting 40 Celsius to Fahrenheit ensures dishes are cooked to perfection, avoiding undercooked or overcooked results.

3. Science and Engineering

In scientific research and international engineering projects, temperature conversions maintain consistency in data interpretation and collaboration.

Historical Context of Temperature Scales

1. Celsius Scale

Developed by Swedish astronomer Anders Celsius in 1742, the original scale was reversed, with 0 as the boiling point and 100 as the freezing point. The current format was later adopted for its logical progression.

2. Fahrenheit Scale

Daniel Gabriel Fahrenheit introduced his scale in 1724. Its zero point was based on the coldest temperature he could achieve using a mixture of ice, water, and ammonium chloride. The scale’s 100-degree point approximated human body temperature.

Global Usage of Temperature Scales

While Celsius is the international standard, Fahrenheit remains prevalent in the United States. This disparity often necessitates conversions like 40 Celsius to Fahrenheit, especially in global contexts.

Quick Approximation Techniques

For mental calculations, approximate conversions can be handy:

  • Celsius to Fahrenheit: Double the Celsius temperature and add 30.
  • Fahrenheit to Celsius: Subtract 30 from the Fahrenheit temperature and halve the result.

Using the approximation method:

  • 40 Celsius: (40 × 2) + 30 = 110 (actual: 104 Fahrenheit).

Though slightly off, these shortcuts are useful for quick estimates.

Tools for Temperature Conversion

With technological advancements, converting temperatures like 40 Celsius to Fahrenheit is easier than ever:

1. Smartphone Apps

Many free apps provide instant temperature conversions. Inputting 40 Celsius will quickly display its Fahrenheit equivalent.

2. Online Calculators

Web-based tools allow for accurate conversions with a simple input and click.

3. Virtual Assistants

Devices like Siri, Alexa, and Google Assistant can convert temperatures on command.

Conclusion

Understanding temperature conversions, such as 40 Celsius to Fahrenheit, is an essential skill in various aspects of life. Whether you’re cooking, traveling, or analyzing scientific data, being able to switch between these two scales enhances comprehension and decision-making. By mastering the formula, historical context, and practical applications of these temperature scales, you’re better equipped to navigate a globally interconnected world.

CLICK HERE FOR MORE

FAQs

1. What is 40 Celsius in Fahrenheit? 40 Celsius equals 104 Fahrenheit.

2. Why do we need to convert temperatures? Temperature conversions are crucial for accurate weather interpretation, scientific research, cooking, and travel.

3. How do I convert Celsius to Fahrenheit? Use the formula: °F = (9/5) °C+32

4. Is 40 Celsius a high temperature? Yes, 40 Celsius (104 Fahrenheit) is considered very high and can pose health and environmental risks.

5. Are there tools for converting temperatures? Yes, smartphone apps, online calculators, and virtual assistants can convert temperatures instantly.

6. What is the difference between Celsius and Fahrenheit? Celsius is based on water’s freezing (0°C) and boiling points (100°C), while Fahrenheit uses 32°F and 212°F, respectively.

Continue Reading
Click to comment

Leave a Reply

Your email address will not be published. Required fields are marked *

Education

Guide to Sunflower Drawing: Easy Step-by-Step Guide

Published

on

Sunflower Drawing

Sunflowers are a popular subject for artists due to their vibrant petals and intricate centers. Whether you’re a beginner or an experienced artist, learning how to draw a sunflower can be both fun and rewarding. In this guide, we’ll walk you through a step-by-step process to create a beautiful sunflower drawing, along with essential tips to enhance your artistic skills.

Step-by-Step Guide to Sunflower Drawing

1. Gather Your Materials

Before you begin, ensure you have the right tools:

  • Pencil (HB or 2B for sketching)
  • Eraser
  • Fine liner or black pen (for outlining)
  • Colored pencils, markers, or watercolors (if you want to add color)
  • Drawing paper or sketchbook

2. Sketch the Basic Shapes

Start by lightly sketching a circle in the center of your paper. This will be the sunflower drawing core. Then, draw a larger circle around it to mark the placement of the petals.

StepDescription
1. Gather Your Materials – Pencil (HB or 2B for sketching)
– Eraser
– Fine liner or black pen (for outlining)
– Colored pencils, markers, or watercolors
– Drawing paper or sketchbook
2. Sketch the Basic Shapes – Draw a small circle in the center (flower’s core).
– Outline a larger circle around it to guide petal placement.
3. Draw the Petals – Add elongated, curved petals around the inner circle.
– Overlap petals for a more natural effect.
– Keep strokes light for easy adjustments.
4. Detail the Center – Create texture using small dots or curved lines.
– Follow a spiral pattern for realism.
5. Add the Stem and Leaves – Draw a straight or slightly curved stem.
– Add jagged leaves with prominent veins.
6. Finalize Your Drawing – Outline with a fine liner or black pen.
– Erase unnecessary sketch lines.
– Add shading or colors for depth.

3. Draw the Petals

  • Begin adding elongated, slightly curved petal shapes around the inner circle.
  • Sunflower petals overlap, so vary their length and angles for a natural look.
  • Keep your strokes light so you can adjust them if needed.

4. Detail the Center

The center of a sunflower drawing has a textured, spiral pattern. You can achieve this by drawing small dots or curved lines that follow the natural spiral formation.

5. Add the Stem and Leaves

  • Draw a straight or slightly curved stem extending from the flower.
  • Add large, jagged leaves on either side.
  • Ensure the leaves have prominent veins for a realistic touch.

6. Finalize Your Drawing

  • Outline the drawing with a fine liner or pen for a polished look.
  • Erase unnecessary sketch lines.
  • Add shading or color to enhance depth and dimension.

Tips for Enhancing Your Sunflower Drawing

  • Use reference images for accuracy.
  • Experiment with different petal shapes and leaf placements.
  • Try different shading techniques like cross-hatching or stippling for texture.
  • If using colors, blend shades of yellow, brown, and green for a realistic effect.

Conclusion

Drawing a sunflower is a fantastic way to practice your artistic skills while creating a beautiful piece of art. Whether you’re sketching for fun or honing your craft, following this step-by-step guide will help you achieve a stunning result. Now, grab your materials and start your sunflower masterpiece today!

Frequently Asked Questions (FAQs)

  • Q1: What is the best technique to draw realistic sunflower petals?

A: Use light, curved strokes and ensure some petals overlap to create a natural look.

  • Q2: How do I make the center of the sunflower more detailed?

A: Add small circular dots and spiral patterns using a fine liner or pencil.

  • Q3: What’s the easiest way to color a sunflower drawing?

A: Use colored pencils or watercolors, layering different shades of yellow and brown for depth.

Continue Reading

Education

Master Wolf Drawing: Easy Step-by-Step Guide for Artists

Published

on

Wolf Drawing

Wolf drawing is a captivating artistic challenge that blends realism with creativity. Whether you are a beginner or an experienced artist, learning how to sketch a wolf enhances your skills in anatomy, texture, and shading. This guide will walk you through the essentials of wolf drawing, from basic shapes to detailed fur techniques, helping you create stunning artwork with confidence.

Why Draw a Wolf?

Wolves symbolize strength, freedom, and mystery, making them a popular subject in art. Drawing wolves allows artists to explore dynamic poses, expressive eyes, and intricate fur textures, improving their overall drawing proficiency.

Essential Tools for Wolf Drawing

Before you start, gather the necessary tools:

  • Pencils: HB for sketching, 2B-6B for shading
  • Erasers: Kneaded and precision erasers for highlights
  • Paper: Medium to smooth texture for finer details
  • Blending Tools: Cotton swabs, blending stumps, or tissue
  • Reference Images: Photos or wildlife art for accuracy

Step-by-Step Guide to Drawing a Wolf

Step 1: Sketch the Basic Shapes

Begin with simple shapes to outline the wolf’s structure:

  • Draw a circle for the head
  • Add a smaller oval for the snout
  • Use lines to indicate the body and leg placement

Step 2: Define Facial Features

  • Sketch almond-shaped eyes with sharp edges
  • Draw the nose and mouth, ensuring proportionate placement
  • Add triangular ears with slight curves for a natural look

Step 3: Outline the Body and Legs

  • Use light strokes to refine the wolf’s torso
  • Sketch powerful, slightly bent legs for realism
  • Define the tail with a soft, flowing outline

Step 4: Add Fur Details and Texture

  • Use short, directional strokes to mimic fur
  • Darken areas like the snout and around the eyes for depth
  • Blend gently to create a smooth transition between light and dark areas

Step 5: Shading and Final Touches

  • Use different pencil grades to enhance depth
  • Add shading under the wolf’s chin and along its legs
  • Refine details in the eyes to create a lifelike gaze

Tips for Improving Your Wolf Drawings

  • Study Anatomy: Understanding wolf bone structure improves accuracy.
  • Use References: Real images help in capturing realistic details.
  • Practice Fur Techniques: Experiment with different stroke lengths and pressure.
  • Experiment with Different Poses: Try sketching wolves in motion or howling.

Conclusion

Drawing a wolf is a rewarding artistic endeavor that enhances your skills in shading, texture, and composition. By following this step-by-step guide, you can create detailed and expressive wolf illustrations. Start practicing today, and share your artwork with fellow artists to refine your skills further!

Frequently Asked Questions (FAQs)

1. How do I make my wolf drawing look more realistic? Focus on fine details like fur texture, eye reflection, and shading variations.

2. What is the best pencil for drawing a wolf? Use HB for outlines and softer pencils like 4B-6B for shading.

3. How can I draw a wolf without a reference? Practice basic anatomy and memorize key features like ear shape and snout proportions.

Continue Reading

Education

Convert 6mm to Inches: Quick & Accurate Guide For You

Published

on

6mm to Inches

Understanding metric to imperial conversions is essential for anyone dealing with measurements in engineering, DIY projects, crafting, or construction. One common conversion is 6mm to inches. This guide will not only provide you with an accurate answer but also explain how conversions work, why they matter, and practical scenarios where this knowledge is useful.

How to Convert 6mm to Inches

To convert millimeters (mm) to inches, you use the conversion factor:

1 millimeter = 0.03937 inches

Using this formula (6mm to Inches):

inches

Final Answer: 6mm = 0.236 inches (rounded to three decimal places)

For general use, 6mm is often rounded to 0.24 inches.

Conversion Table for Millimeters to Inches

If you frequently work with metric-to-imperial conversions, having a quick reference table can be handy:

Millimeters (mm)Inches (in)
1mm0.03937 in
2mm0.07874 in
3mm0.11811 in
4mm0.15748 in
5mm0.19685 in
6mm0.23622 in
7mm0.27559 in
8mm0.31496 in
9mm0.35433 in
10mm0.39370 in

Why Is the 6mm to Inches Conversion Important?

Understanding 6mm in inches can be useful in various industries and everyday scenarios. Let’s explore where this knowledge is applied:

1. DIY & Home Improvement

  • Many tools and hardware items like screws, nuts, bolts, and drill bits come in metric sizes. If a screw measures 6mm, you’ll now know it’s roughly 0.24 inches, helping you pick the right size for your project.

2. Jewelry & Fashion

  • Earring, ring, and bracelet sizes often use millimeters. A 6mm gemstone is about 0.24 inches, useful when purchasing or designing jewelry.

3. Automotive & Engineering

  • Auto parts such as bolts and wrenches are sometimes labeled in metric. A 6mm bolt head translates to approximately 0.24 inches across.

4. Construction & Carpentry

  • Woodworkers and builders frequently use millimeter-to-inch conversions when working with materials measured in both metric and imperial units.

Conclusion

Now that you know 6mm = 0.236 inches, you can confidently use this conversion in practical applications. Whether you’re working on a home project, buying jewelry, or handling technical measurements, this knowledge will be incredibly useful.

FAQs About 6mm to Inches

  • 1. Is 6mm bigger than 1/4 inch?
  • No. 1/4 inch = 0.25 inches, which is slightly larger than 6mm (0.236 inches).
  • 2. How can I quickly estimate 6mm in inches?
  • Since 1 inch is about 25.4mm, a quick estimation method is:
  • 6mm ≈ 1/4 inch (slightly less)
  • 3. Is 6mm the same as 1/8 inch?
  • No. 1/8 inch = 0.125 inches, which is much smaller than 6mm (0.236 inches).
  • 4. What is the best way to convert mm to inches?
  • Multiply millimeters by 0.03937 or divide by 25.4 for precise results.

Continue Reading

Trending