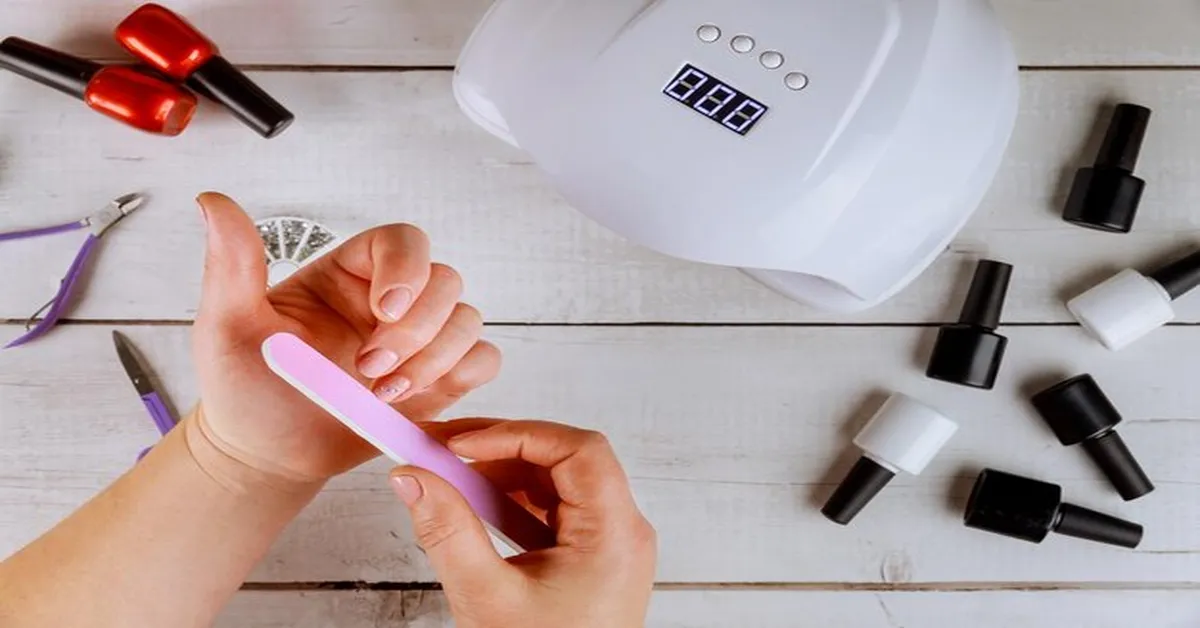
Builder gel has become a game-changer in the nail industry, offering a durable, lightweight, and natural-looking solution for nail enhancements. Whether you’re a professional nail technician or a DIY enthusiast, understanding builder gel can elevate your nail care routine.
In this guide, we’ll cover everything you need to know about gel, including its benefits, how to apply it correctly, and expert tips for long-lasting results.
1. What is Builder Gel?
Builder gel is a type of nail enhancement product designed to add strength, structure, and length to natural nails. It has a thick consistency and requires curing under a UV or LED lamp to harden properly. Unlike traditional gel polish, gel can be used to create extensions, reinforce weak nails, and sculpt flawless nail shapes.
Key Features:
- Thicker than regular gel polish for added durability.
- Requires UV/LED curing to harden.
- Can be applied over natural nails or nail tips.
- Lightweight and flexible compared to acrylics.
2. Builder Gel vs. Acrylic vs. Hard Gel: Key Differences
Understanding the differences between builder gel, acrylics, and hard gel can help you choose the best product for your nails.
| Feature | Builder Gel | Acrylic | Hard Gel |
|---|---|---|---|
| Application | Brushed on, requires UV/LED curing | Mixed with liquid monomer | Brushed on, requires UV/LED curing |
| Durability | Strong but flexible | Very strong but rigid | Hard and durable |
| Removal | Soaked off with acetone | Filed off | Filed off |
| Finish | Natural-looking, glossy | Can be bulky, requires buffing | Very glossy |
| Best For | Strengthening natural nails, extensions | Long-lasting extensions | Sculpting complex nail shapes |
Builder gel offers the best of both worlds by being durable yet flexible, making it a favorite among nail enthusiasts.
3. Benefits of Using Builder Gel
Why Should You Use Gel?
- Adds strength to natural nails, reducing breakage.
- Lightweight and comfortable to wear compared to acrylics.
- Flexible and less likely to crack under pressure.
- Ideal for short nail enhancements and overlays.
- Long-lasting results (up to 3-4 weeks with proper care).
- Available in clear, nude, and tinted options to match different nail styles.
4. How to Apply Gel: Step-by-Step Guide
Follow these steps to apply gel like a pro:
Step 1: Prep Your Nails
- Trim and shape your nails.
- Push back cuticles and remove excess skin.
- Buff the nail surface to remove shine.
- Wipe with a lint-free pad soaked in alcohol or nail cleanser.
Step 2: Apply Base Coat
- Apply a thin layer of gel base coat.
- Cure under a UV/LED lamp for 30-60 seconds.
Step 3: Apply Builder Gel
- Using a brush, apply a thin layer of builder gel.
- Cure under a UV/LED lamp for 60 seconds.
- Repeat with a second layer for added strength.
Step 4: Shape and Refine
- Once cured, file and buff the nails to your desired shape.
- Wipe off any dust with alcohol or a nail cleanser.
Step 5: Apply Top Coat
- Seal the nails with a high-shine gel top coat.
- Cure under a UV/LED lamp for 60 seconds.
- Wipe off any sticky residue with alcohol.
5. Best Builder Gel Brands to Try
Here are some top-rated gel brands known for their quality and durability:
- IBD Gel – Great for professionals and beginners.
- Mia Secret Gel – Easy application and strong hold.
- Beetles Gel – Affordable and beginner-friendly.
- Young Nails Synergy Gel – Ideal for sculpting and overlays.
- GEL X by Aprés – A premium choice for salon-quality results.
6. Tips for Making Gel Last Longer
- Always prep your nails properly before application.
- Avoid using your nails as tools to prevent lifting.
- Apply thin layers of gel to avoid bulkiness.
- Use cuticle oil daily to maintain flexibility and hydration.
- Wear gloves when doing household chores to prevent chipping.
7. How to Remove Gel Safely
Proper removal prevents damage to your natural nails. Follow these steps:
- Buff the top layer to break the seal.
- Soak cotton pads in acetone and place them on your nails.
- Wrap nails in foil and leave for 10-15 minutes.
- Gently push off softened gel with a cuticle pusher.
- Buff and moisturize to restore nail health.
8. Common Mistakes and How to Avoid Them
Mistake 1: Skipping Nail Prep
- Solution: Always clean and buff nails before applying gel.
Mistake 2: Applying Too Much Product
- Solution: Use thin, even layers and cure properly.
Mistake 3: Not Curing Properly
- Solution: Ensure your UV/LED lamp is powerful enough to cure the gel fully.
Mistake 4: Improper Removal
- Solution: Avoid peeling off gel; soak it off gently to prevent nail damage.
9. Conclusion & Next Steps
Builder gel is a fantastic choice for those looking to strengthen their nails or create stunning extensions. Whether you’re a beginner or a professional, using the right techniques and products can lead to long-lasting, beautiful nails.
FAQs About Gel
Q1: How long does builder gel last? A: With proper care, gel can last up to 3-4 weeks.
Q2: Can I apply builder gel at home? A: Yes! Many builder gel kits are designed for home use with a UV/LED lamp.
Q3: Is builder gel better than acrylic? A: It depends on your needs. Builder gel is more flexible, while acrylics are more rigid and durable.
Q4: Can I paint over builder gel? A: Yes, you can apply regular polish or gel polish over builder gel.
Q5: Does builder gel damage natural nails? A: Not if applied and removed correctly. Always follow proper nail care practices.
Call to Action
Are you ready to try builder gel? Explore top-rated brands and share your nail transformation in the comments below!


