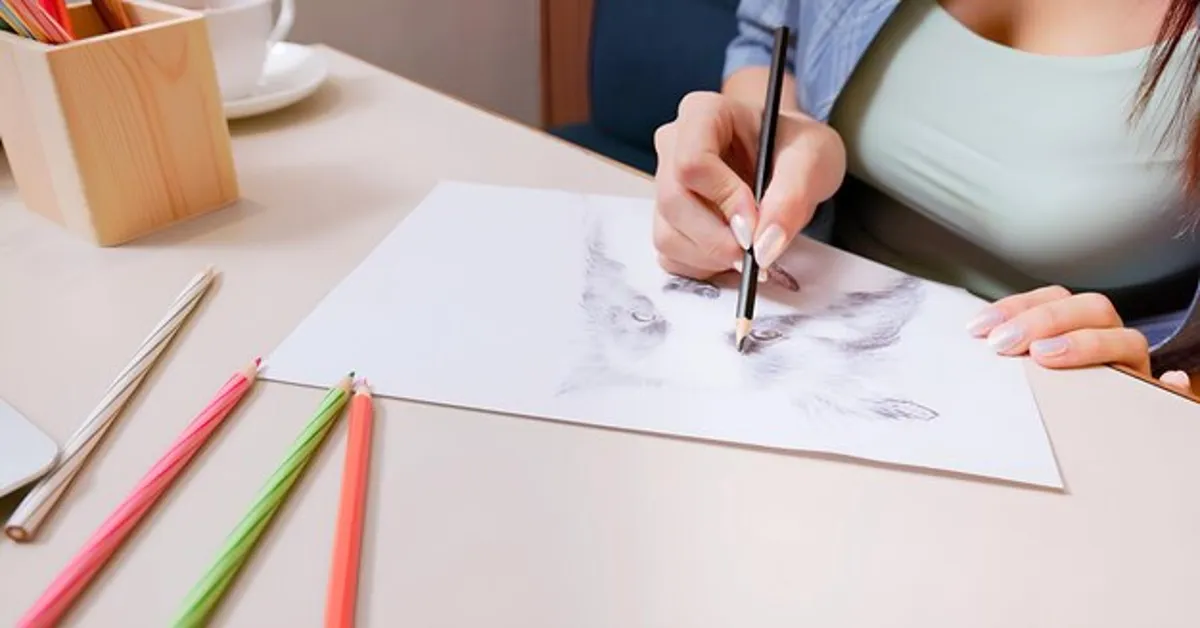
Wolf drawing is a captivating artistic challenge that blends realism with creativity. Whether you are a beginner or an experienced artist, learning how to sketch a wolf enhances your skills in anatomy, texture, and shading. This guide will walk you through the essentials of wolf drawing, from basic shapes to detailed fur techniques, helping you create stunning artwork with confidence.
Why Draw a Wolf?
Wolves symbolize strength, freedom, and mystery, making them a popular subject in art. Drawing wolves allows artists to explore dynamic poses, expressive eyes, and intricate fur textures, improving their overall drawing proficiency.
Essential Tools for Wolf Drawing
Before you start, gather the necessary tools:
- Pencils: HB for sketching, 2B-6B for shading
- Erasers: Kneaded and precision erasers for highlights
- Paper: Medium to smooth texture for finer details
- Blending Tools: Cotton swabs, blending stumps, or tissue
- Reference Images: Photos or wildlife art for accuracy
Step-by-Step Guide to Drawing a Wolf
Step 1: Sketch the Basic Shapes
Begin with simple shapes to outline the wolf’s structure:
- Draw a circle for the head
- Add a smaller oval for the snout
- Use lines to indicate the body and leg placement
Step 2: Define Facial Features
- Sketch almond-shaped eyes with sharp edges
- Draw the nose and mouth, ensuring proportionate placement
- Add triangular ears with slight curves for a natural look
Step 3: Outline the Body and Legs
- Use light strokes to refine the wolf’s torso
- Sketch powerful, slightly bent legs for realism
- Define the tail with a soft, flowing outline
Step 4: Add Fur Details and Texture
- Use short, directional strokes to mimic fur
- Darken areas like the snout and around the eyes for depth
- Blend gently to create a smooth transition between light and dark areas
Step 5: Shading and Final Touches
- Use different pencil grades to enhance depth
- Add shading under the wolf’s chin and along its legs
- Refine details in the eyes to create a lifelike gaze
Tips for Improving Your Wolf Drawings
- Study Anatomy: Understanding wolf bone structure improves accuracy.
- Use References: Real images help in capturing realistic details.
- Practice Fur Techniques: Experiment with different stroke lengths and pressure.
- Experiment with Different Poses: Try sketching wolves in motion or howling.
Conclusion
Drawing a wolf is a rewarding artistic endeavor that enhances your skills in shading, texture, and composition. By following this step-by-step guide, you can create detailed and expressive wolf illustrations. Start practicing today, and share your artwork with fellow artists to refine your skills further!
Frequently Asked Questions (FAQs)
1. How do I make my wolf drawing look more realistic? Focus on fine details like fur texture, eye reflection, and shading variations.
2. What is the best pencil for drawing a wolf? Use HB for outlines and softer pencils like 4B-6B for shading.
3. How can I draw a wolf without a reference? Practice basic anatomy and memorize key features like ear shape and snout proportions.


